Good Evening Paper Bead Friends!
Hope you’re all having a great weekend and are all ready for the Seahawks win tomorrow in the playoff game!
Several of my online friends have recently inquired about how I seal and dry my beads! So I felt it was time to show you a few pics and explain my bead drying process!
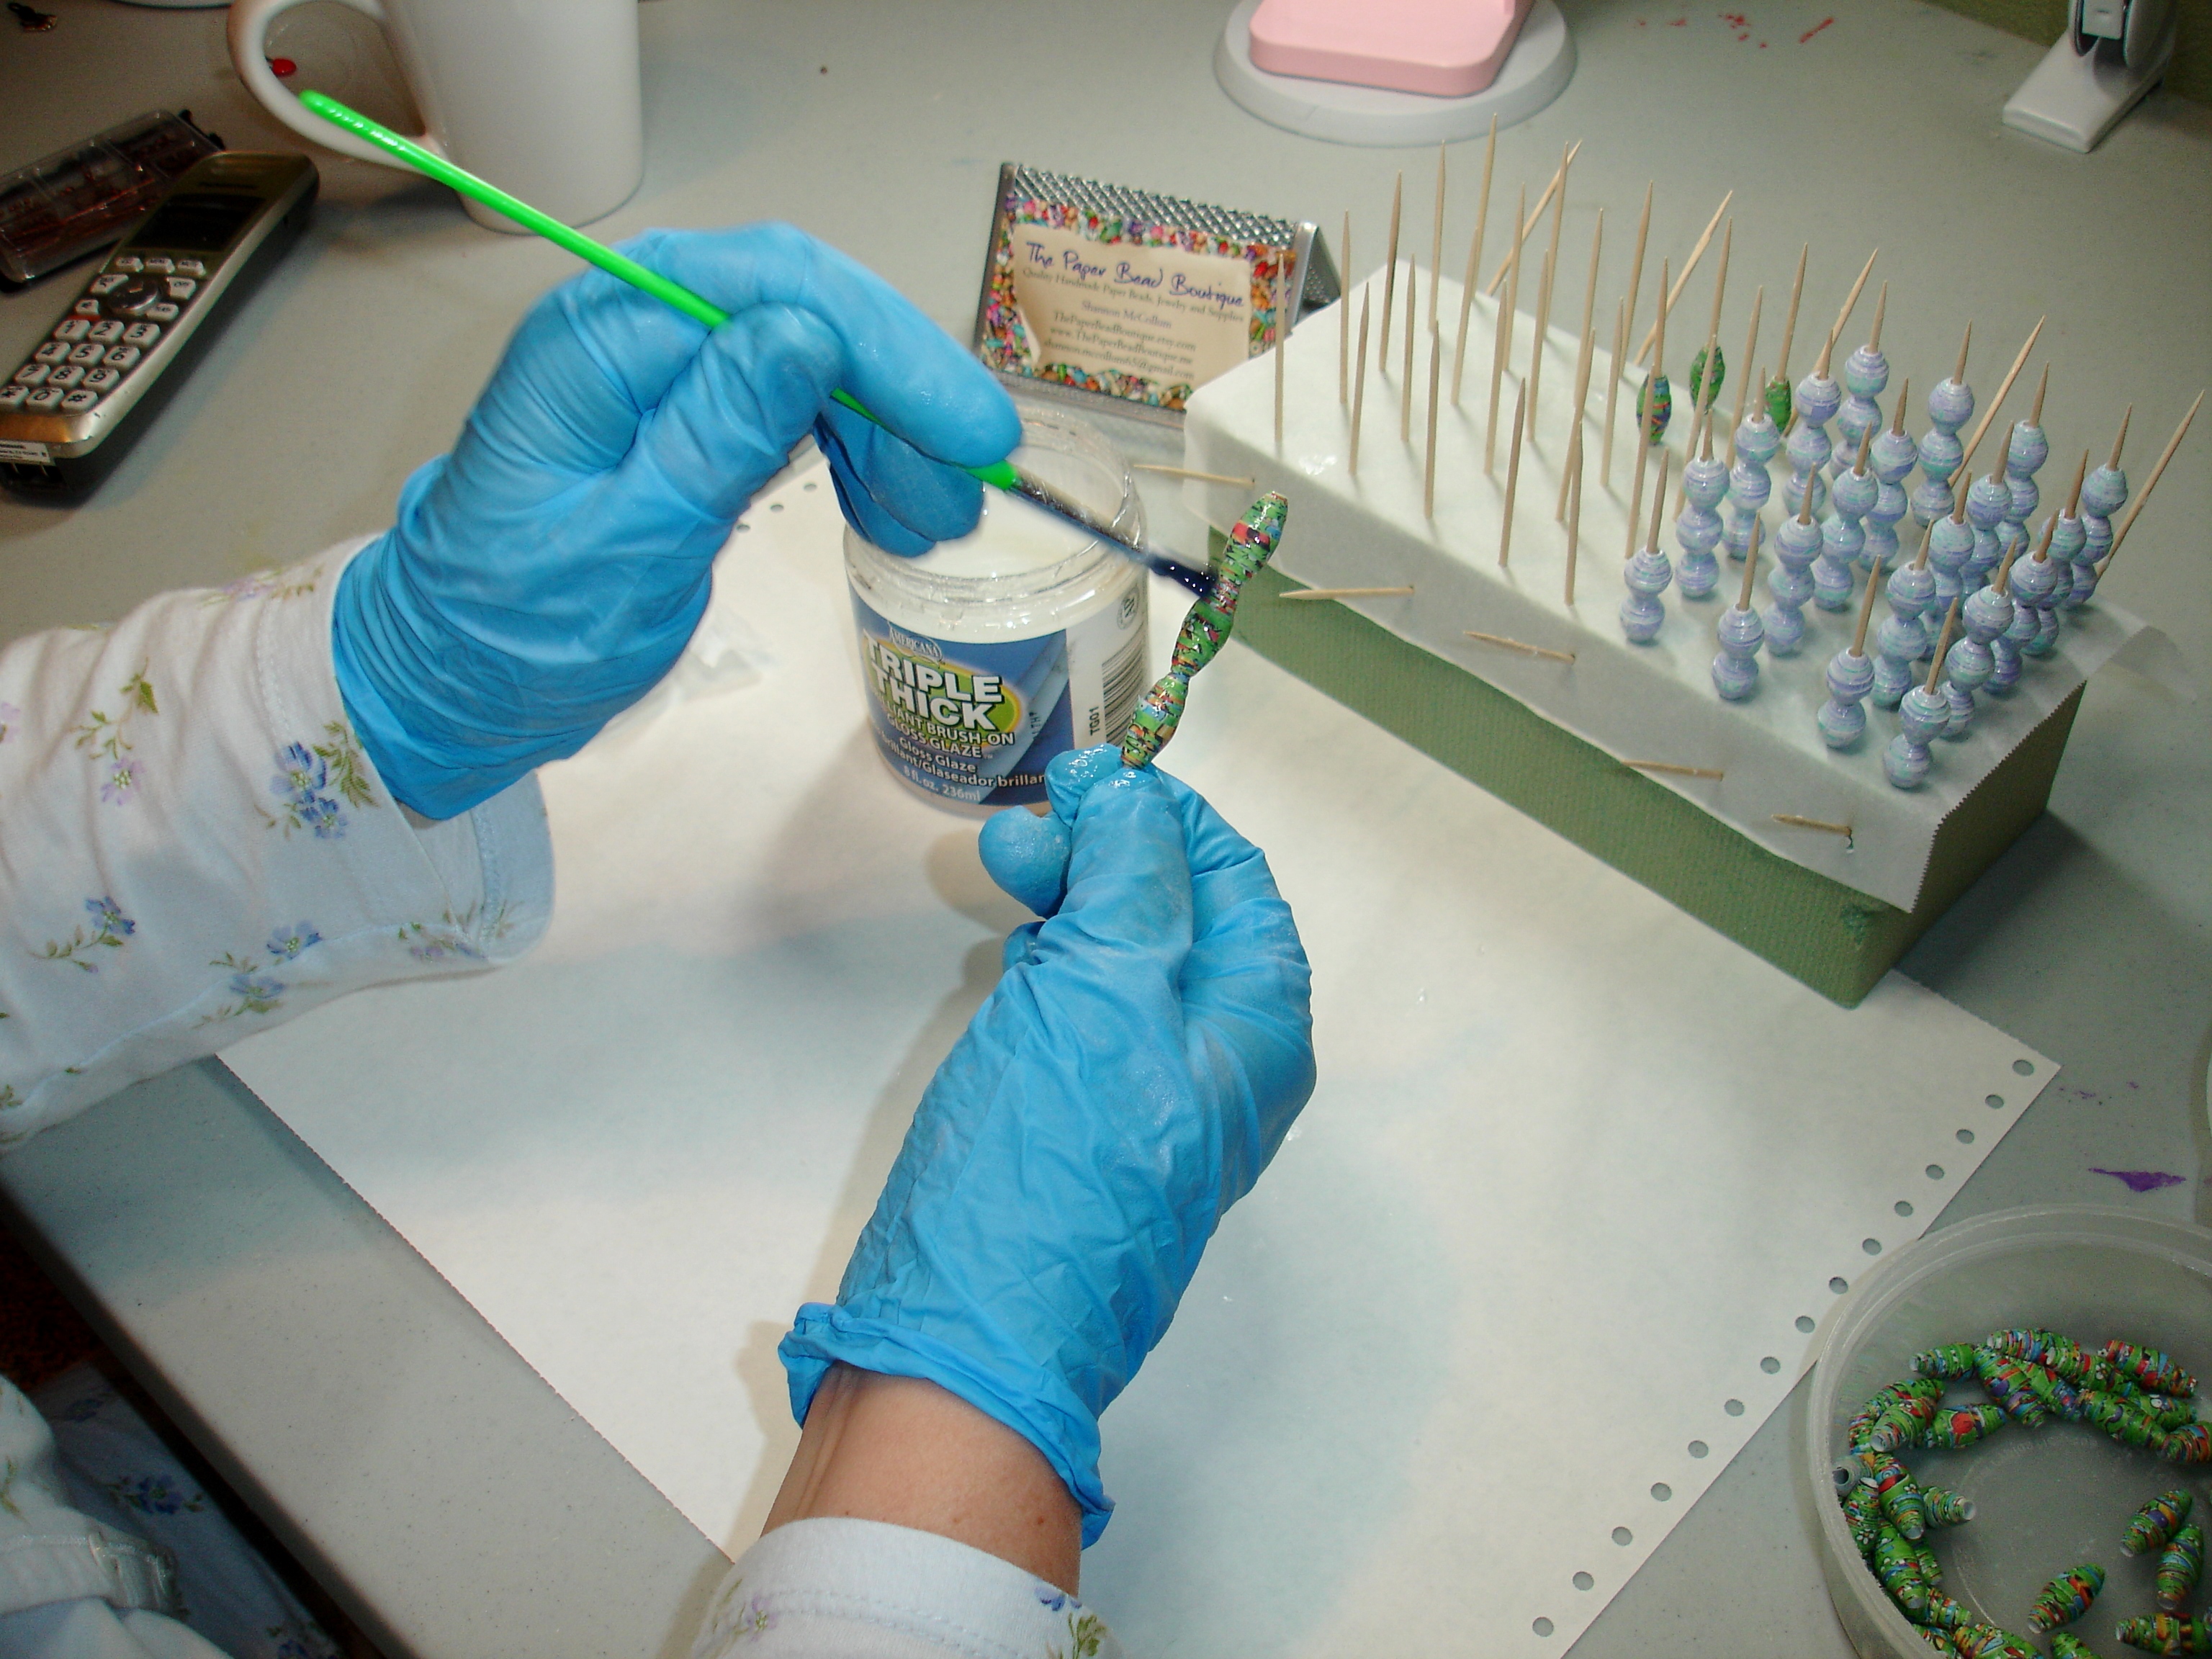
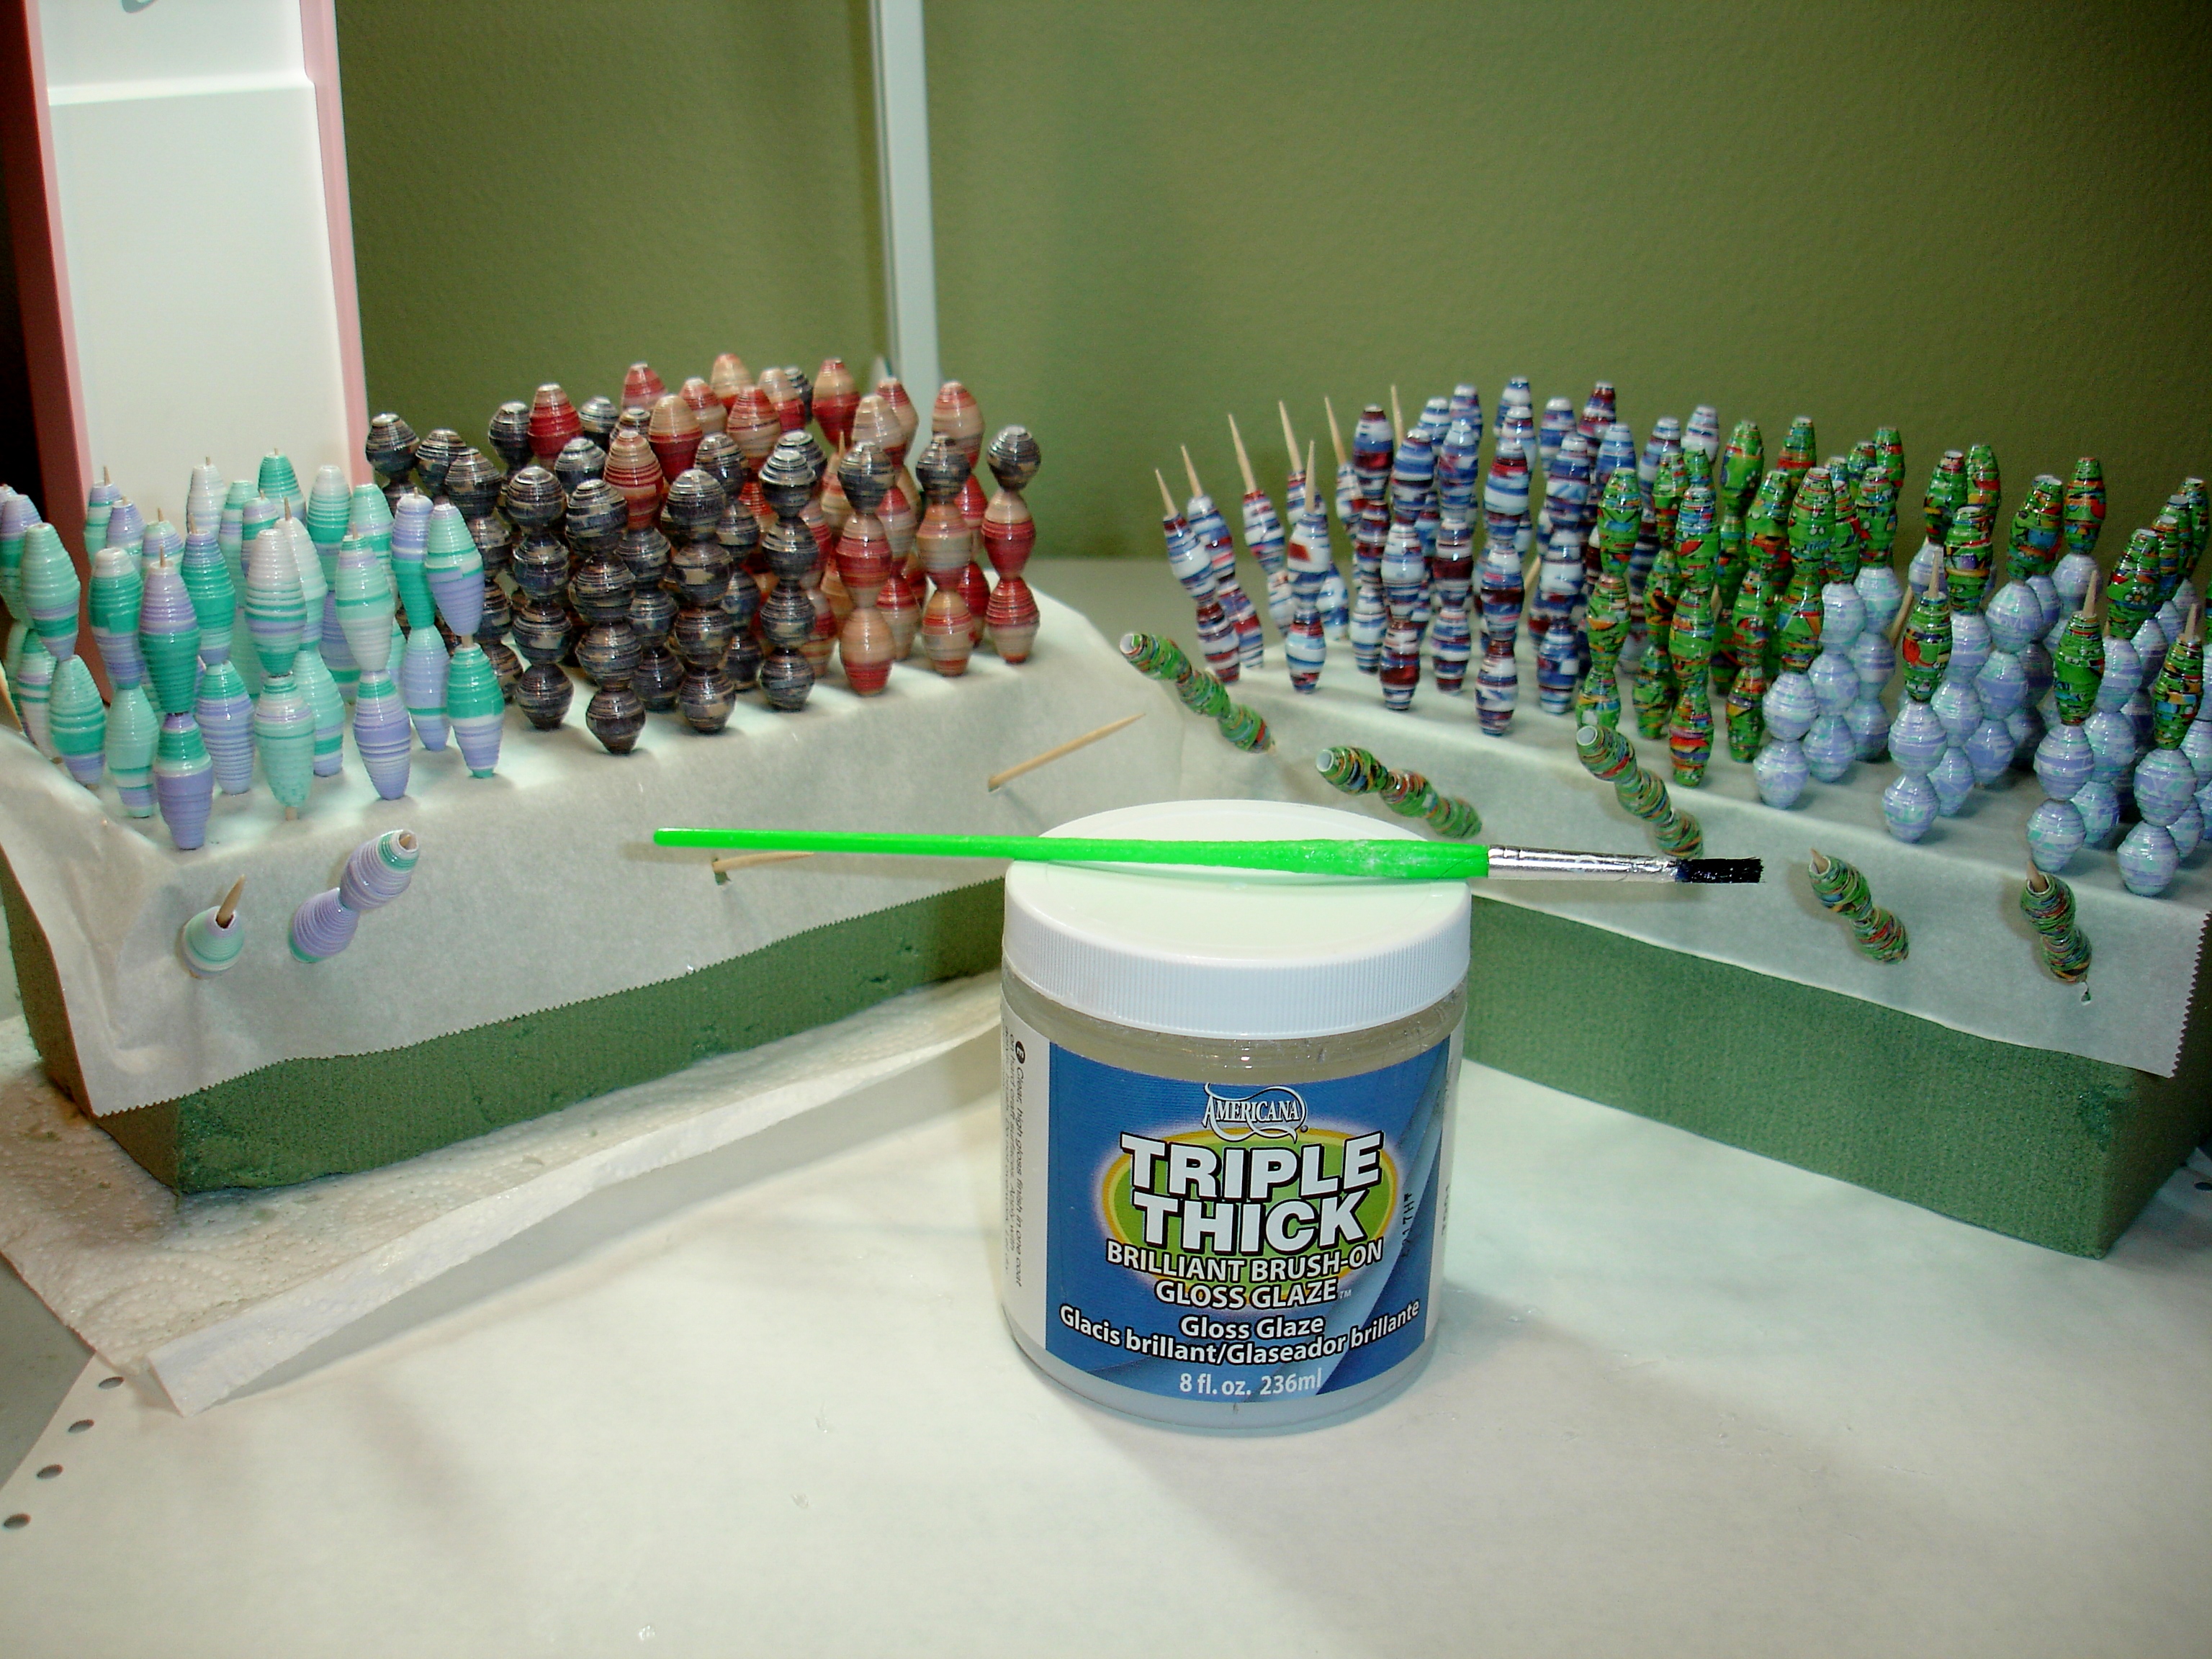
I always use rubber gloves when I seal my beads as I have found it really saves on my hands and keeps them from getting so messy! I just use regular art supply paint brushes to brush my glaze on. You can even pick these paint brushes up at the dollar store! So I brush my glaze on one by one. I now use Triple Thick Glaze which leaves a very high glossy finish. I usually stack anywhere from 2 to 4 beads on a toothpick at one time, paint them and then remove them one by one and transfer them to a dry toothpick for the drying process.
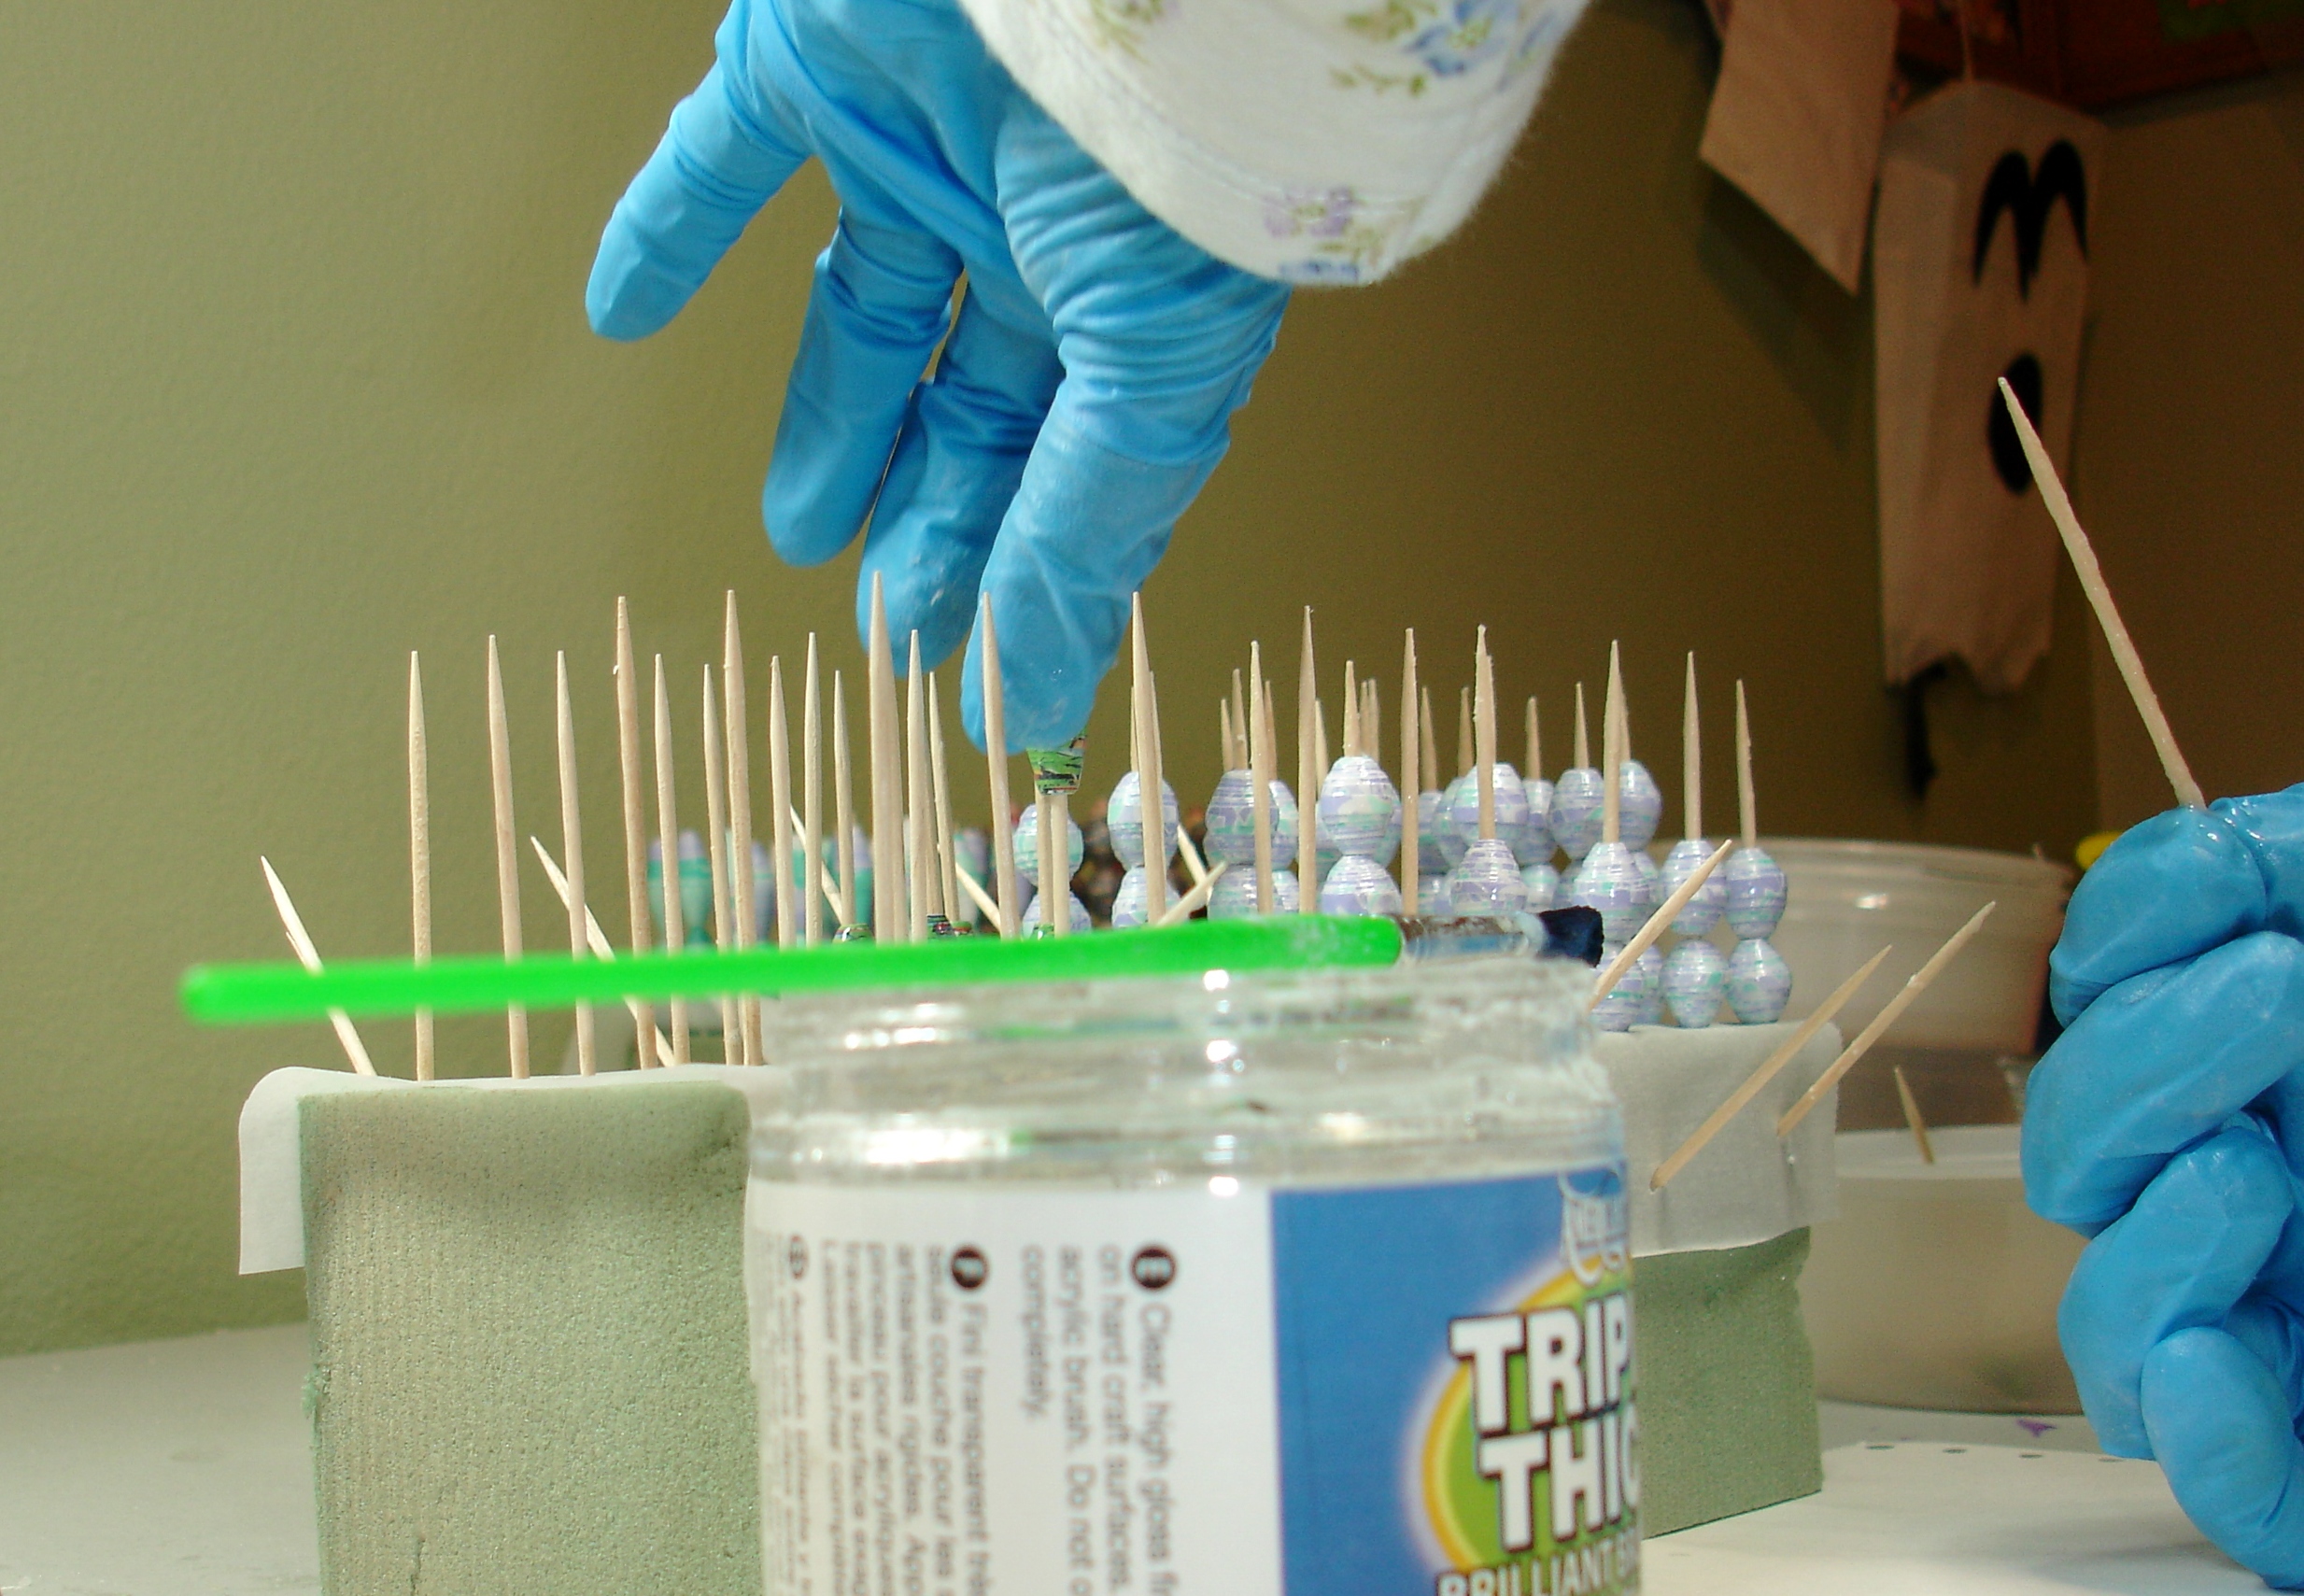
I then allow them to dry for several hours and sometimes even overnight, depending on what I have going on!
Once dry, I remove them one by one and check the insides of each bead to unsure the paper hasn’t torn on the inside. If it has, I just run a glaze covered toothpick down the middle to reseal the inside! And that’s it!
That’s my process! I’m sure there are easier and quicker ways of doing it but I guess I call it quality control! It’s what insures for me that my beads are of the highest quality I can make!
Until next time, Happy Beading!

Shannon, this is fascinating! I think you have your process down very well. I know how fabulous your beads are!! ❤
Thanks so much Michele! I appreciate your feedback!
Awesome! Thanks for sharing the process.